Aurum® Notes: How You Print Gold You Can Fold (but shouldn't)
- Yukon Stogie

- May 2
- 3 min read

Most people hear “printed gold” and think it’s a gimmick. Some kind of foil sticker. A novelty. Something you’d find in a gift shop next to the souvenir spoons.
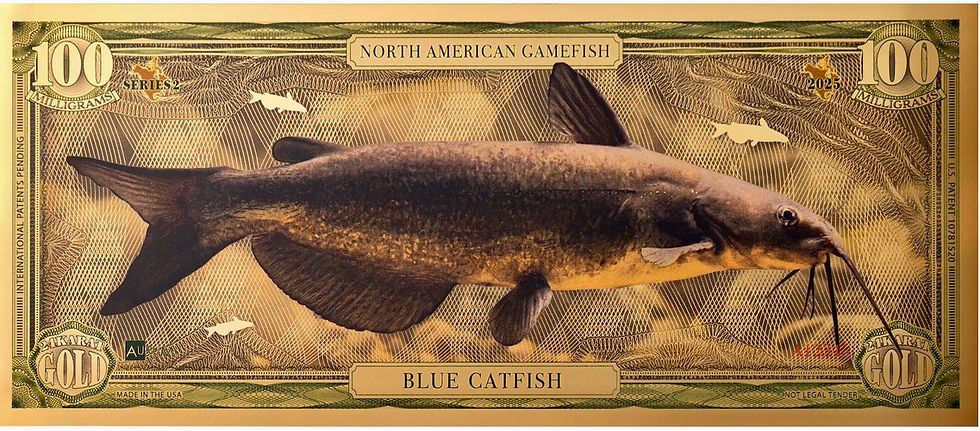
But Aurum notes, the technology behind Goldbacks and other fractional gold currencies, are the real deal. They’re 24‑karat gold, locked inside a flexible polymer note, built with the same kind of precision you’d expect from a semiconductor lab. They are manufactured by Valaurum , Inc. who has the world-wide exclusive license for this innovative proprietary technology, which is protected by US and international patents.
And here’s the part most folks don’t know: Before the gold ever touches the film, the artwork gets printed first. That’s the secret sauce that gives Aurum notes their depth, their security, and that signature “gold-on-clear” look.
Let’s walk through the whole process.
Step 1 — The Art Comes First
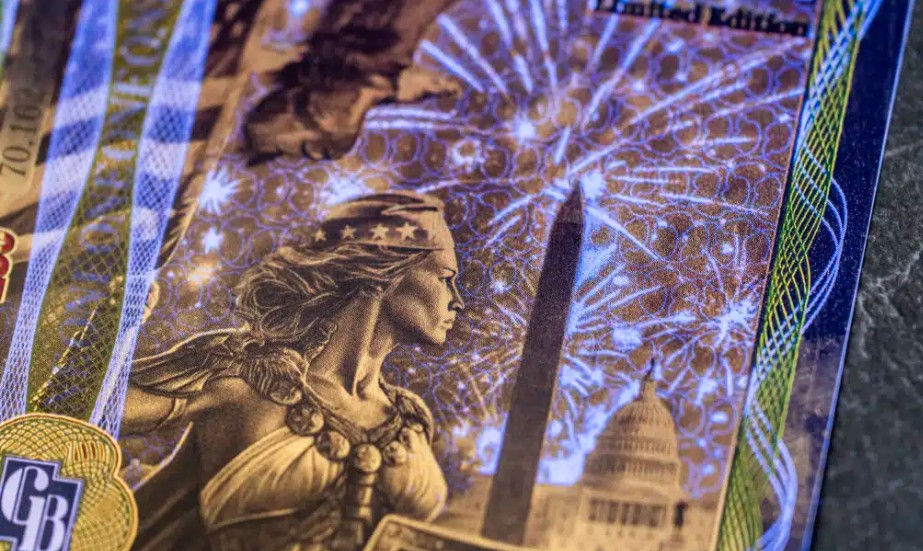
Every Aurum starts as a piece of art. Designers build high‑resolution illustrations loaded with security features:
micro‑printing
UV elements
serial numbers
fine-line patterns
anti-counterfeit textures
These aren’t just pretty pictures. They’re functional defenses.
Step 2 — Printing on Polymer
Next, the artwork gets printed onto clear polyester film — the same tough substrate that will eventually carry the gold. This is full‑color, high‑resolution printing (think 1200 dpi). It’s crisp. It’s detailed. And it’s intentional. Why print first? Because the gold interacts with the ink later, creating that dimensional effect collectors love — shiny where the film is clear, matte where the ink sits.
This step sets the stage for everything that follows.
Step 3 — Into the Vacuum Chamber
Now the printed polymer gets rolled into a vacuum chamber — the heart of the operation.
Inside, a plate of pure 24k gold is blasted with high‑energy ions until it vaporizes into a microscopic cloud. This is physical vapor deposition, the same process used to coat microchips.
The gold settles onto the printed film atom by atom, forming a perfectly even layer of real gold.
To put it in perspective:
A 1/10‑gram Aurum has a gold layer around 404 nanometers thick
That’s roughly 1% the width of a human hair
Still real gold. Just engineered for precision.
And here’s the cool part: The gold lands differently on printed vs. unprinted areas, creating natural contrast and built‑in security.
Step 4 — Seal It Up
Once the gold is down, a second polymer layer is laminated over the top.
This does three things:
protects the gold
locks it in place
keeps the note flexible and durable
You can bend it. Carry it. Use it. The gold stays safe.
Step 5 — Cut, Inspect, Verify
The finished sheets get sliced into individual notes.
Each one is:
inspected
serialized (if not already printed)
tested with spectrometers
verified for exact gold content
No guesswork. No “close enough.” Every note contains a precise, recoverable amount of 24k gold.
Why This Order Matters
Printing first isn’t just a workflow choice — it’s the whole trick.
Because the gold is vapor‑deposited, not printed like ink, it reacts to the artwork underneath. That’s what creates the dimensional shine, the matte‑on‑ink effect, and the anti‑counterfeit texture you can’t fake with foil or toner.
It’s art, science, and metallurgy all working together.
The Big Picture
Aurum technology was built to modernize gold ownership:
portable
durable
verifiable
affordable in small denominations
It keeps gold tangible — something you can hold, trade, and store — while using cutting‑edge manufacturing to make it practical again.
And yes, it’s all produced right here in the USA.


Comments